Listeners:
Top listeners:
00:00
00:00
volume_up
chevron_left
-
 play_arrow
HBRECORDS RADIO 5.0 HBRECORDS RADIO 5.0
-
 play_arrow
FULL SHOW: Druski Says British Actors Are Taking All The Roles 🤣 + Dana White & Trap Dickey Interview The Black Effect Podcast Network and iHeartPodcasts
AD
music_note

How to Put Your DJ Mixes on YouTube: Complete Guide
AD
AD
Legal Considerations for DJ Mixes on YouTube
Before uploading your mix, it’s crucial to understand YouTube’s copyright policies and how they affect DJ content. While many DJs successfully share mixes on the platform, doing so without proper preparation can lead to problems.
Understanding YouTube’s Content ID System
YouTube uses an automated system called Content ID that scans all uploaded videos against a database of copyrighted content. When your DJ mix contains commercial tracks, the system will likely identify them and take one of three actions:
- Block your video worldwide (worst outcome)
- Block your video in certain countries only
- Monetize your video for the copyright holders (best outcome)
The third option is what most DJs hope for – your mix stays online, but any ad revenue goes to the original artists and labels. This is a fair compromise that many copyright holders accept.
Testing Your Mix Before Going Live
The most effective strategy for avoiding copyright blocks is to test your mix before making it public. Here’s how:
- Create a test video with all the tracks you plan to include in your mix
- Upload it as an “Unlisted” video to your YouTube channel
- Wait for YouTube to process the video and check for copyright claims
- Review any claims to identify problematic tracks
- Remove or replace any tracks that would cause your video to be blocked
This pre-testing method allows you to identify and remove problematic tracks before uploading your final mix, significantly increasing your chances of keeping your content online.
Legal Alternatives for Your Mixes
If you want to avoid copyright issues altogether, consider these approaches:
Use Royalty-Free Music
Platforms like Epidemic Sound, Artlist, and SoundStripe offer subscription services with high-quality tracks you can legally use in your mixes. While these won’t include mainstream hits, they provide professional-grade music across many genres.
Get Permission Directly
For independent artists and smaller labels, you might be able to secure direct permission to include their tracks in your mix. Always get this permission in writing and be prepared to show proof if your video receives a claim.
Important: Simply crediting artists in your description or stating “no copyright infringement intended” does NOT protect you from copyright claims. These disclaimers have no legal effect on YouTube’s Content ID system.
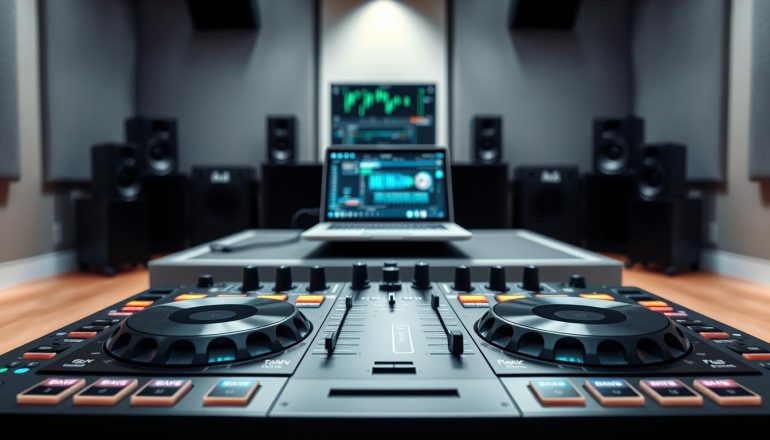
Technical Preparation for Your DJ Mix
Creating a high-quality audio and visual experience will help your mix stand out and attract more viewers. Here’s how to prepare your mix technically:
Audio Format and Quality
While YouTube will compress your audio during upload, starting with the highest quality possible ensures the best results. Here’s a comparison of common audio formats:
| Format | Quality | File Size | Recommended For |
| WAV | Lossless | Large (10MB/min) | Best quality, but large upload size |
| FLAC | Lossless | Medium (5MB/min) | Best balance of quality and size |
| MP3 (320kbps) | High | Small (2.5MB/min) | Good quality, fastest upload |
For YouTube uploads, exporting your mix as a 320kbps MP3 is usually sufficient, as YouTube will compress it further anyway. If you have fast internet, FLAC provides better quality without excessive file sizes.
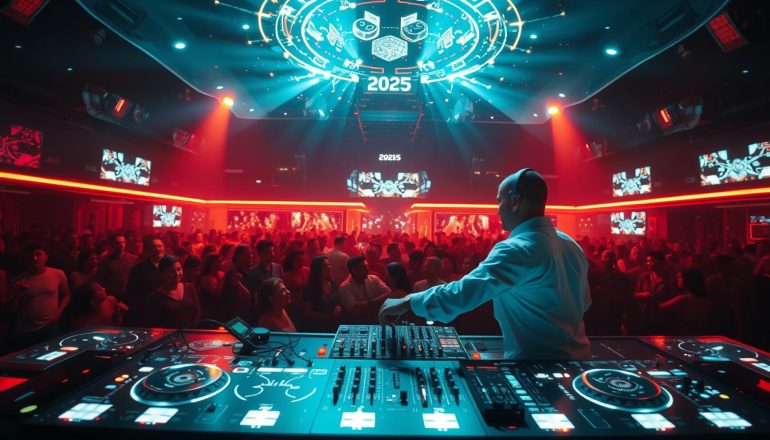
Creating Engaging Visuals
While your mix’s audio is the star, visuals play a crucial role in attracting and retaining viewers. Options include:

- Static Image: A simple approach using your DJ logo or custom artwork
- Audio Visualizer: Dynamic visuals that respond to your music (tools listed in the recommended tools section)
- Video Footage: Recording yourself performing the mix or using stock video footage
- Slideshow: Rotating images of album covers from tracks in your mix
For maximum engagement, include your DJ name, mix title, and social media handles in your visuals. This helps with branding and makes it easy for viewers to find you on other platforms.
Pre-Upload DJ Mix Verification
Copyright Check
- Tested mix with unlisted upload
- Removed or replaced blocked tracks
- Verified final mix has no worldwide blocks
Audio Quality
- Mix exported at minimum 320kbps MP3
- Audio levels normalized (not peaking)
- No clipping or distortion in loud sections
Visual Elements
- Thumbnail created (1280×720px minimum)
- DJ name and mix title visible in video
- Visualizer or background video prepared
Metadata Preparation
- Title includes main keywords and DJ name
- Description with tracklist prepared
- Tags researched and listed
YouTube Upload Process for DJ Mixes
Now that you’ve prepared your mix and checked for potential copyright issues, it’s time to upload it to YouTube. Here’s a step-by-step walkthrough:
Preparing Your Video File
Before uploading, you need to combine your audio mix with your visuals into a single video file:
- Import your audio mix into a video editing software (see recommended tools below)
- Add your visual elements (static image, visualizer, or video footage)
- Export as an MP4 file with H.264 video codec for best compatibility

Uploading to YouTube
Follow these steps to upload your mix to YouTube:
- Sign in to YouTube and click the camera icon in the top right, then “Upload video”
- Select your video file or drag and drop it into the upload area
- While the video uploads, prepare your title, description, and thumbnail

Optimizing Your Video Details
Proper metadata is crucial for discovery. Here’s how to optimize your video details:
Title
Include relevant keywords that describe your mix. A good format is: “[DJ Name] – [Mix Name/Style] – [Genre] DJ Mix”
Description
Your description should include:
- Brief introduction to the mix (1-2 sentences)
- Complete tracklist with timestamps
- Your social media links
- Any equipment or software used
Example description:
Deep house journey through melodic and progressive tracks. Perfect for late-night sessions.
TRACKLIST:
00:00 – Artist 1 – Track 1
05:23 – Artist 2 – Track 2
…
Follow me:
Instagram: @djname
SoundCloud: soundcloud.com/djname
Custom Thumbnail
Create an eye-catching thumbnail that represents your mix. Include your DJ name, mix title, and possibly genre information. The recommended size is 1280×720 pixels.

Tags
Add relevant tags to help YouTube understand what your mix is about. Include your DJ name, music genres, “DJ mix,” and other relevant keywords.
Visibility Settings
Choose the appropriate visibility option:
- Public: Visible to everyone immediately
- Unlisted: Only visible to people with the link (good for testing)
- Private: Only visible to you and people you invite
- Scheduled: Set to publish at a specific date and time
If you’re concerned about copyright issues, consider uploading as “Unlisted” first, checking for claims, then changing to “Public” if everything looks good.
Promotion Strategies for Your DJ Mix
Uploading your mix is just the beginning. To maximize your reach, you need a solid promotion strategy:
YouTube SEO for DJ Mixes
Optimize your mix for YouTube’s search algorithm:
- Research keywords using tools like TubeBuddy or VidIQ to find popular search terms related to your mix genre
- Include keywords in your title, description, and tags
- Create playlists of your mixes to increase watch time
- Add cards and end screens to promote your other mixes

Cross-Platform Promotion
Share your mix across multiple platforms to reach a wider audience:
Social Media
Share your mix on Instagram, Twitter, Facebook, and TikTok. Create short clips or visualizers from your mix to use as teasers.
DJ Communities
Share your mix in relevant subreddits, Facebook groups, and DJ forums. Focus on communities specific to your genre.
Music Platforms
Cross-post to SoundCloud and Mixcloud to reach different audiences. Link back to your YouTube version.
Engagement Strategies
Build a community around your mixes:
- Respond to all comments on your videos
- Ask questions in your video description to encourage comments
- Create a consistent upload schedule to build a loyal audience
- Collaborate with other DJs for cross-promotion

Recommended Tools for YouTube DJ Mixes
These tools will help you create, edit, and promote your DJ mixes on YouTube:
Audio Recording and Mixing
Free Options
- Audacity: Free, open-source audio editor for recording and basic editing
- LMMS: Free digital audio workstation for more advanced production
- Cakewalk: Free full-featured DAW for Windows
Premium Options
- Ableton Live: Industry-standard for DJ mix production
- FL Studio: Popular DAW with excellent audio editing capabilities
- Logic Pro: Professional DAW for Mac users
Video Creation and Visualizers
Free Options
- DaVinci Resolve: Professional-grade free video editor
- Shotcut: Open-source video editor with basic features
- Renderforest: Online audio visualizer with free options
Premium Options
- Adobe Premiere Pro: Industry-standard video editor
- After Effects: For creating custom visualizers
- ZGameEditor Visualizer: Plugin for FL Studio

Thumbnail Creation
Free Options
- Canva: User-friendly design tool with DJ-themed templates
- GIMP: Free alternative to Photoshop
- Pixlr: Browser-based photo editor
Premium Options
- Adobe Photoshop: Professional image editing software
- Affinity Photo: One-time purchase alternative to Photoshop
- TubeBuddy: Includes thumbnail A/B testing
YouTube Optimization Tools
- TubeBuddy: Browser extension for keyword research and video optimization
- VidIQ: Analytics and optimization tool for YouTube growth
- Morningfame: Data-driven recommendations for video optimization
- Social Blade: Track channel growth and compare with competitors

Final Tips for YouTube DJ Mix Success
As you embark on your YouTube DJ journey, keep these final tips in mind:
- Be consistent: Regular uploads help build an audience
- Focus on quality: A few excellent mixes are better than many mediocre ones
- Tell your story: Share your DJ journey and connect with your audience
- Analyze performance: Use YouTube Analytics to see what works and refine your approach
- Stay adaptable: YouTube and copyright policies change frequently, so stay informed
Uploading your DJ mixes to YouTube is a powerful way to share your music with the world. While copyright concerns exist, with proper preparation and the strategies outlined in this guide, you can successfully build a presence on the platform. Remember that building an audience takes time, so be patient and focus on consistently creating quality content that showcases your unique style and skills.

Free DJ Mix Copyright Checklist
Download our comprehensive checklist to verify your mix is YouTube-ready before uploading. Includes step-by-step instructions for testing tracks and avoiding copyright strikes.
Free Audio Format Comparison Chart
Get our detailed comparison of audio formats with recommended export settings for different DJ software. Includes optimal bitrates and compression settings for YouTube uploads.
Free YouTube SEO Guide for DJs
Download our specialized SEO guide for DJ content on YouTube. Learn how to optimize your mixes for maximum visibility and grow your channel faster.
Complete DJ YouTube Success Kit
Get all three of our free resources in one package: Copyright Checklist, Audio Format Guide, and YouTube SEO Guide. Everything you need to successfully share your mixes on YouTube.
AD
Similar posts
AD
Featured post
Upcoming shows
Chart
-
-
 play_arrow
Stick Talk Future
-
-
-
 play_arrow
SportsCenter Bossman Dlow
-
-
-
 play_arrow
Traffic G Herbo
-
-


AD


AD
AD
AD
Post comments (0)